Alice Springs Chicken Recipe is the ultimate comfort food that blends juicy chicken breasts, crispy bacon, melted cheese, and a tangy honey mustard sauce. This restaurant-inspired dish is packed with bold flavors and is surprisingly easy to make at home. Imagine taking a bite and savoring the perfect mix of sweet, savory, and cheesy goodness—it’s a dish that’s bound to steal the spotlight at your dinner table.
Whether you’re a fan of Outback Steakhouse or simply looking for a new family favorite, this recipe is sure to impress. Ready to recreate this classic at home? Let’s dive into the magic behind this flavor-packed meal!
Whether you’re a seasoned home cook or just someone who loves experimenting in the kitchen, this recipe is sure to become your go-to for family dinners, potlucks, or even date nights. It’s the kind of dish that’ll make your taste buds do a happy dance.
“Alice Springs Chicken isn’t just a recipe; it’s a masterpiece you can create in your own kitchen.”
Table of Contents
What Is Alice Springs Chicken?
Alice Springs Chicken is a hearty, flavorful dish inspired by the Australian town of the same name. It blends sweet, salty, and umami flavors into a comforting, delicious meal.
The Origin of Alice Springs Chicken
Popularized by Outback Steakhouse, this dish has been recreated by food lovers worldwide, evolving into a timeless classic with countless variations.
Why Is It So Popular?
Easy to make, packed with flavor, and adaptable to various diets, Alice Springs Chicken is a crowd-pleaser that works for any occasion.
Ingredients for the Perfect Alice Springs Chicken
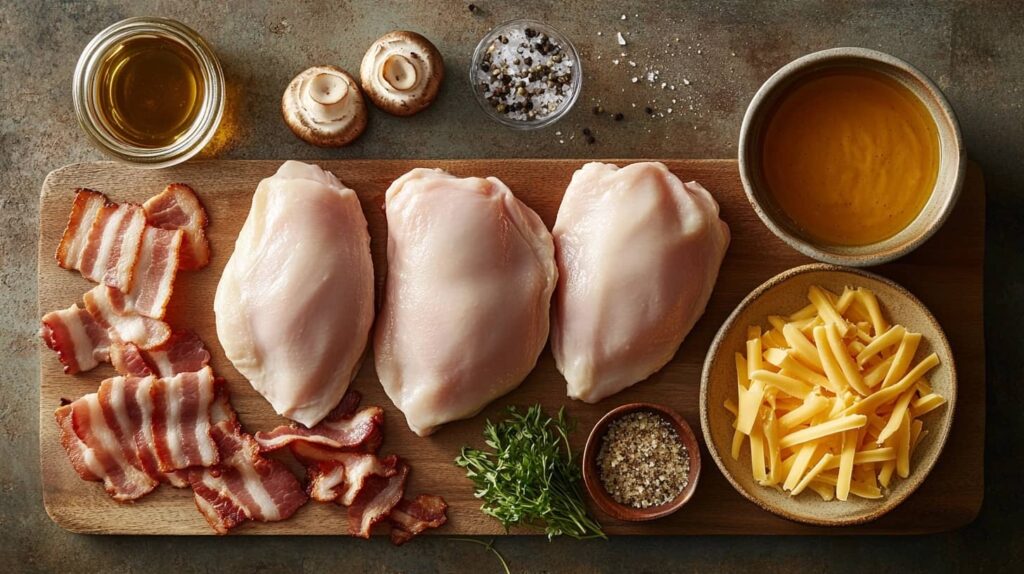
Alright, let’s dive into what you’ll need to make this magic happen. The key to nailing this recipe is using fresh, high-quality ingredients. Don’t worry, though—it’s all stuff you can find at your local grocery store.
Essential Ingredients
| Ingredient | Quantity |
|---|---|
| Boneless, skinless chicken breasts | 4 pieces |
| Bacon | 6 strips |
| Mushrooms (sliced) | 1 cup |
| Shredded cheddar and Monterey Jack cheese | 1 ½ cups |
| Honey mustard sauce | ¾ cup |
| Salt and pepper | To taste |
| Olive oil or butter | 2 tablespoons |
Substitutions for Common Ingredients
If you’re missing an ingredient or need to adjust for dietary preferences, here are some handy swaps:
- Chicken breasts: You can use chicken thighs if you prefer juicier meat.
- Bacon: Turkey bacon works great for a leaner option.
- Cheese: Feel free to swap cheddar with mozzarella or a dairy-free alternative.
- Mushrooms: Not a fan? Replace them with bell peppers or skip them altogether.
Tips for Selecting Fresh and High-Quality Ingredients
Here are some quick tips to ensure your ingredients are top-notch:
- Chicken: Look for chicken that’s pink and firm to the touch. Avoid anything slimy or with a strong odor.
- Mushrooms: Choose mushrooms that are dry but not shriveled. They should smell earthy, not sour.
- Bacon: Opt for thick-cut bacon if you want it to hold up well during cooking.
Nutrition Facts
Curious about how this dish fits into your diet? Here’s a quick breakdown:
| Per Serving | Amount |
|---|---|
| Calories | 480 |
| Protein | 42g |
| Carbohydrates | 8g |
| Fat | 32g |
| Sodium | 800mg |
Not bad for a dish that feels like indulgence on a plate, right?
Master the Marinade: Use a homemade honey mustard sauce for the best results.
Step-by-Step Guide to Making Alice Springs Chicken
Now that we’ve gathered all the ingredients, it’s time to roll up our sleeves and get cooking! This step-by-step guide will walk you through the process of making Alice Springs Chicken like a pro. Don’t worry—it’s easier than you think, and the results are totally worth it. Let’s get started!
Step 1: Preparing the Chicken
Start by preheating your oven to 375°F (190°C). While the oven heats up, season the chicken breasts with salt and pepper on both sides. You want to make sure the seasoning sticks, so gently pat it in with your hands. For an extra flavor boost, you can also marinate the chicken in a mix of olive oil, garlic, and a splash of lemon juice for 30 minutes.
Next, heat a large skillet over medium-high heat and add a tablespoon of olive oil or butter. Sear the chicken for 2-3 minutes per side until golden brown. Remember, you’re not cooking it all the way through just yet—this step is all about locking in the flavor.
Step 2: Crafting the Honey Mustard Sauce
The honey mustard sauce is what makes Alice Springs Chicken so unique. To make it, simply mix the following ingredients in a bowl:
- ½ cup Dijon mustard
- ¼ cup honey
- 2 tablespoons mayonnaise
- 1 teaspoon fresh lemon juice
Whisk everything together until smooth. Taste it—if you prefer a sweeter sauce, add a bit more honey. Want it tangier? Add another splash of lemon juice. Set the sauce aside for now.
Step 3: Cooking the Bacon and Sautéing Mushrooms
In the same skillet you used for the chicken, cook the bacon strips over medium heat until crispy. Place the cooked bacon on a plate lined with paper towels to drain the excess grease.
Next, toss the sliced mushrooms into the skillet and sauté them in the bacon drippings for about 5 minutes. The mushrooms should turn golden and tender. If needed, add a touch of olive oil or butter to prevent sticking.
Step 4: Assembling and Baking the Chicken
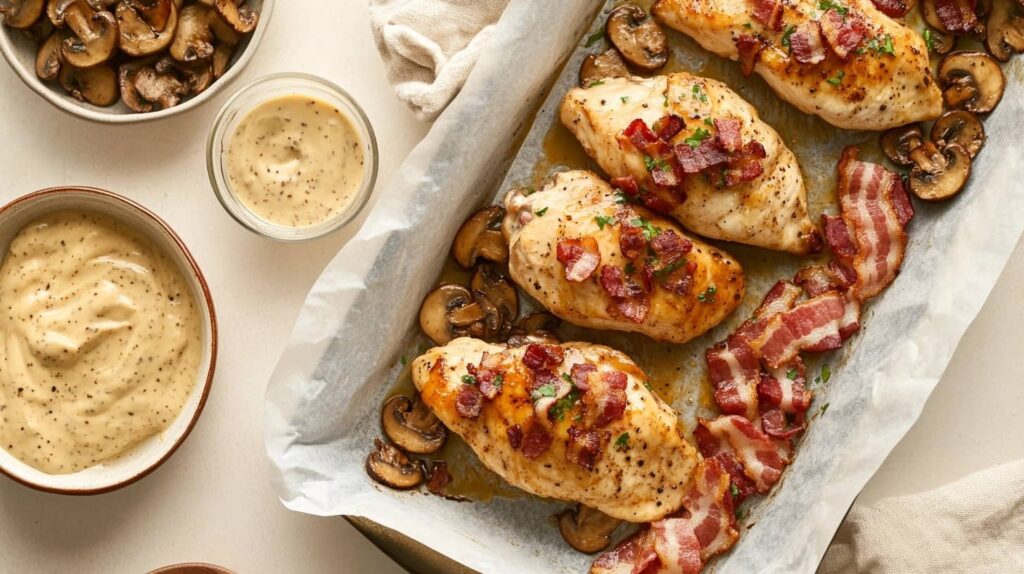
Place the seared chicken breasts in a baking dish. Generously spread the honey mustard sauce over each piece—don’t skimp on this part! Layer the cooked bacon strips on top, followed by a handful of sautéed mushrooms. Finally, sprinkle a generous amount of shredded cheddar and Monterey Jack cheese over everything.
Cover the dish with aluminum foil and bake for 20 minutes. Remove the foil and bake for an additional 10 minutes, or until the cheese is melted and bubbly, and the chicken reaches an internal temperature of 165°F (74°C). The kitchen will smell heavenly by this point.
Step 5: Serve and Enjoy
Carefully remove the dish from the oven and let it rest for 5 minutes before serving. Garnish with fresh parsley or chives for a pop of color, and voilà—you’ve just made Alice Springs Chicken!
Common Problems and Solutions
Even with the best intentions, things don’t always go smoothly in the kitchen. Here are some common issues people face when making Alice Springs Chicken—and how to fix them!
Problem: The Chicken Turns Out Too Dry
Dry chicken is a bummer, but it’s an easy fix. The key is to avoid overcooking. Use a meat thermometer to check the internal temperature—it should hit 165°F (74°C) and not a degree more. Also, don’t skip the searing step; it locks in moisture.
Problem: The Sauce Is Too Thin or Overpowering
If your honey mustard sauce is too runny, whisk in a teaspoon of cornstarch or reduce it in a saucepan over low heat until it thickens. If the flavor is too strong, balance it out by adding a touch more honey or mayonnaise.
Problem: The Cheese Doesn’t Melt Properly
No one likes clumpy cheese! Use freshly grated cheese instead of pre-shredded, as the latter often contains anti-caking agents that affect melting. If needed, broil the dish for 1-2 minutes at the end to get that perfect, gooey texture.
Problem: The Bacon Becomes Soggy
To keep bacon crispy, layer it on top of the cheese instead of under it. This way, it stays exposed to the heat and retains its crunch.
Problem: Mushrooms Are Watery
If your mushrooms release too much water, it could be because the pan isn’t hot enough. Make sure the skillet is heated properly before adding the mushrooms, and avoid overcrowding the pan. Cooking them in batches can help.
“Cooking is like a science experiment—you learn from every trial. Don’t let small hiccups stop you from creating something amazing!”
Looking for a twist? Try using diced chicken and incorporate some of these diced chicken recipes for meal prep-friendly options.
Tips for the Best Alice Springs Chicken
Want to make sure your Alice Springs Chicken turns out perfectly every time? Here are some insider tips to elevate your dish and make it even more drool-worthy:
Cooking Techniques to Enhance Flavor
- Marinate the Chicken: If you have time, let the chicken marinate for at least 2 hours or overnight in a mix of olive oil, garlic, lemon juice, and a touch of honey mustard. This adds depth to the flavor and keeps the chicken tender.
- Use a Cast-Iron Skillet: Searing the chicken in a cast-iron skillet adds a rich, golden crust that you just can’t get with a nonstick pan.
- Don’t Skip the Resting Period: Once the chicken is out of the oven, let it rest for 5-10 minutes. This allows the juices to redistribute, keeping the meat moist and flavorful.
How to Achieve the Perfect Balance of Sweet and Savory
The beauty of Alice Springs Chicken lies in its harmonious blend of sweet and savory flavors. If you’re finding it tricky to strike the right balance, try these tips:
- Adjust the Honey Mustard Sauce: Taste-test the sauce before assembling your dish. Add more honey for sweetness or Dijon mustard for tanginess as needed.
- Pair It with Savory Sides: Serving the chicken with buttery mashed potatoes or roasted veggies helps offset the sweetness of the sauce.
Variations of Alice Springs Chicken
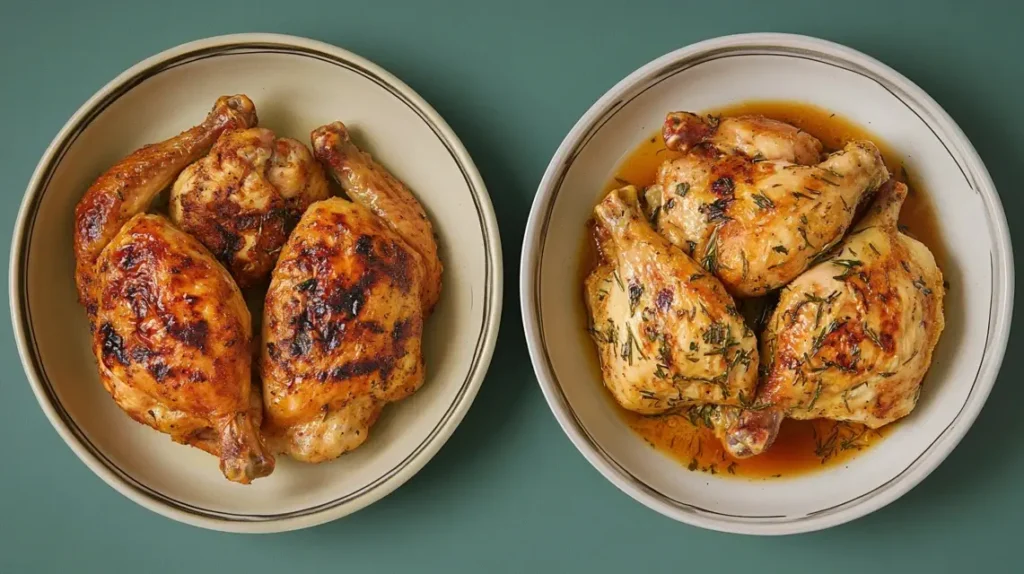
One of the best things about this recipe is how versatile it is. Whether you’re trying to cut carbs or accommodate dietary restrictions, there’s a version of Alice Springs Chicken for everyone. Let’s explore some popular variations:
Keto-Friendly Alice Springs Chicken
To make this dish keto-friendly, skip the honey in the sauce and replace it with a low-carb sweetener like erythritol or stevia. Pair it with cauliflower rice or a fresh salad for a complete keto meal.
Dairy-Free and Vegan Alternatives
Yes, you can still enjoy Alice Springs Chicken if you’re avoiding dairy or meat! Here’s how:
- Chicken: Replace chicken breasts with firm tofu or a plant-based chicken substitute.
- Cheese: Use dairy-free shredded cheese, such as those made from almond or cashew milk.
- Bacon: Opt for vegan bacon or smoked tempeh strips.
Grilled Version of Alice Springs Chicken
Want to add a smoky flavor to your dish? Grill the chicken instead of baking it! Marinate the chicken as usual, then grill over medium heat for 6-8 minutes per side. Assemble the toppings and finish it off on indirect heat with the grill lid closed to melt the cheese.
Side Dishes to Pair with Alice Springs Chicken
No meal is complete without the perfect side dishes. Here are some ideas to round out your Alice Springs Chicken dinner:
Classic Pairings
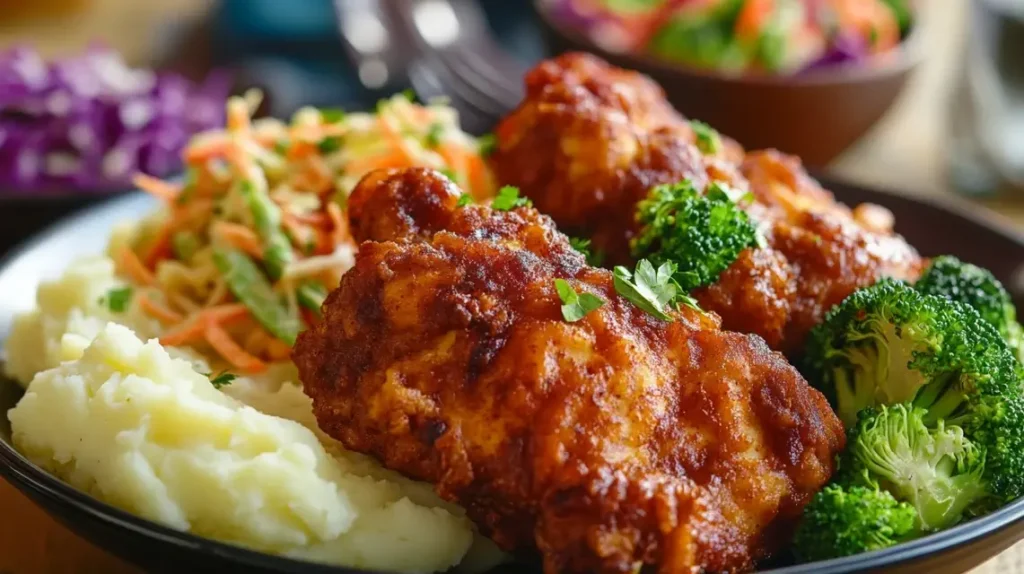
- Mashed Potatoes: Creamy, buttery mashed potatoes are a match made in heaven for this dish.
- Steamed Vegetables: Broccoli, carrots, or green beans add a touch of freshness to balance the richness of the chicken.
Unique Pairings
- Sweet Potato Fries: The natural sweetness of sweet potato fries pairs beautifully with the honey mustard sauce.
- Coleslaw: A tangy, crunchy coleslaw adds a refreshing contrast to the creamy cheese and bacon.
Beverage Suggestions
- White Wine: A crisp Sauvignon Blanc or Chardonnay complements the flavors of the dish.
- Lemonade: For a non-alcoholic option, a tall glass of lemonade adds a zesty twist.
Storing and Reheating Alice Springs Chicken
If you’ve got leftovers (lucky you!), here’s how to store and reheat them without losing flavor or texture:
How to Store Leftovers
Place the chicken in an airtight container and refrigerate it within two hours of cooking. Properly stored, it will last up to 3 days in the fridge. For longer storage, freeze it in a freezer-safe container for up to 3 months.
Tips for Reheating Without Losing Flavor
- Oven Method: Preheat the oven to 350°F (175°C). Place the chicken in a baking dish, cover it with foil, and heat for 15-20 minutes.
- Microwave Method: Place the chicken on a microwave-safe plate, cover it with a damp paper towel, and heat in 30-second intervals until warm.
Frequently Asked Questions About Alice Springs Chicken
Can I Use Chicken Thighs Instead of Breasts?
Absolutely! Chicken thighs are juicier and more forgiving if overcooked, making them a great alternative.
Is Alice Springs Chicken Gluten-Free?
Yes, as long as you use gluten-free Dijon mustard and bacon. Double-check all your ingredients to ensure they’re gluten-free.
Can I Make It Ahead of Time?
Yes, you can! Assemble the dish up to the baking step, cover it tightly, and refrigerate it for up to 24 hours. When you’re ready to cook, just pop it in the oven and bake as instructed.
Conclusion
Alice Springs Chicken isn’t just a recipe—it’s an experience. Whether you’re cooking for your family, impressing guests, or simply treating yourself, this dish is a surefire way to bring joy to the table. So grab your skillet, gather your ingredients, and get ready to create a masterpiece. You’ve got this!
“Cooking is love made visible. Share the love, one plate at a time!”
Pair this recipe with roasted broccoli and carrots for a vibrant and healthy side. You can also try the sweet potato kale salad with maple mustard dressing for a refreshing balance.
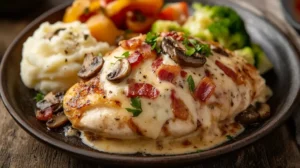
Alice Springs Chicken
Equipment
- Skillet
- Baking Dish
- Mixing Bowl
- Whisk
Ingredients
Main Ingredients
- 4 boneless, skinless chicken breasts
- 6 strips bacon cooked until crispy
- 1 cup sliced mushrooms
- 1 1/2 cups shredded cheddar and Monterey Jack cheese or cheese of choice
- 2 tbsp olive oil or butter for cooking
Honey Mustard Sauce
- 1/2 cup Dijon mustard
- 1/4 cup honey
- 2 tbsp mayonnaise
- 1 tsp fresh lemon juice
- to taste salt and pepper
Instructions
- Preheat the oven to 375°F (190°C).
- Season the chicken breasts with salt and pepper on both sides.
- Heat a skillet over medium-high heat, add olive oil or butter, and sear the chicken breasts for 2-3 minutes per side until golden brown. Remove from heat.
- In a small bowl, whisk together Dijon mustard, honey, mayonnaise, and lemon juice to make the honey mustard sauce.
- In the same skillet, cook the bacon strips until crispy, then place on a plate lined with paper towels.
- Using the bacon drippings, sauté the sliced mushrooms for about 5 minutes until golden and tender.
- Place the seared chicken breasts in a baking dish. Spread honey mustard sauce over each piece.
- Layer each chicken breast with crispy bacon, followed by sautéed mushrooms, and finally top with shredded cheese.
- Cover the dish with foil and bake for 20 minutes. Remove the foil and bake for another 10 minutes until the cheese is melted and bubbly, and the chicken reaches an internal temperature of 165°F (74°C).
- Remove from the oven, let rest for 5 minutes, then serve hot with your favorite sides.

