Table of Contents
Have you ever sunk your spoon into a dessert so rich and gooey that it feels like a warm hug? That’s exactly what chocolate cobbler is! Whether you’re a dessert enthusiast or just someone with a sweet tooth, this heavenly treat is here to steal the show. Let’s dive deep into the world of him and learn how to make it the star of your dessert table!
What Is Chocolate Cobbler? An Introduction to This Decadent Dessert
Imagine a dessert that combines the richness of molten chocolate with the crunch of a cobbled crust. Chocolate cobbler is just that! It’s like a brownie, pudding, and cake had a delicious baby. This dessert creates its own sauce as it bakes, making every bite a perfect mix of gooey chocolate and crispy topping.
“Chocolate cobbler is not just a dessert; it’s a mood, a vibe, and a reason to smile.”
Chocolate Brownie Cake: The Ultimate Indulgence Recipe – Discuss other rich chocolate desserts.
The History of Chocolate Cobbler
While cobblers as a concept date back to early American settlers, chocolate cobbler is a more modern twist. Traditionally, cobblers were made with fruits and a biscuit-like topping. But then, someone with a serious love for chocolate decided to swap the fruits for cocoa, and the rest is history! This dessert has since become a comfort food classic, especially in the southern United States.
Why Chocolate Cobbler Is a Beloved Dessert Worldwide
Why do people love chocolate cobbler so much? Simple. It’s easy to make, requires minimal ingredients, and delivers maximum flavor. Plus, it’s versatile—you can enjoy it fresh out of the oven with a scoop of ice cream or even chilled as a fudgy treat. It’s like the Swiss Army knife of desserts!
Ingredients for Chocolate Cobbler: What You’ll Need
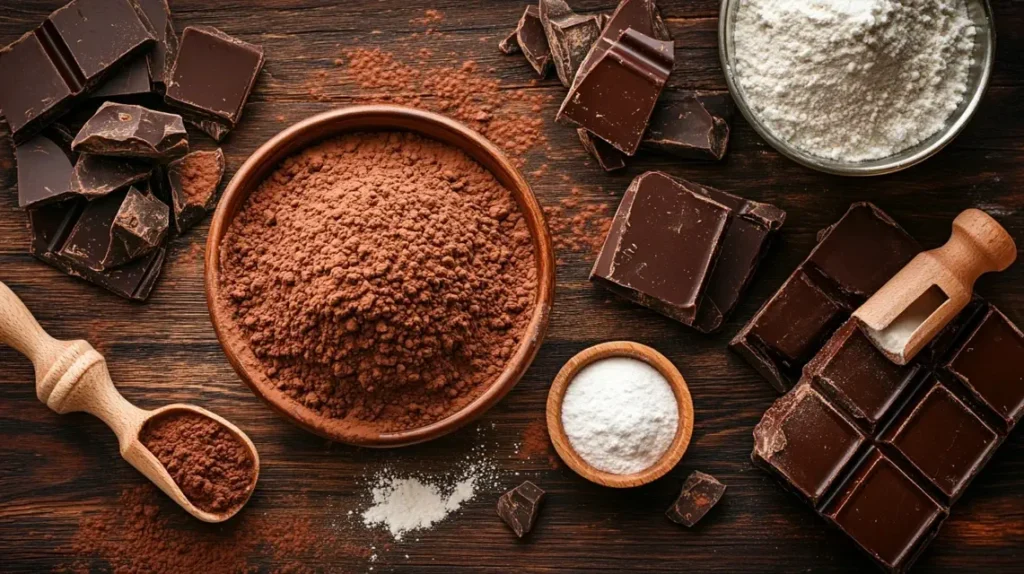
Before we get our hands dirty (in the best way possible), let’s gather everything we need. The beauty of chocolate cobbler is that it’s made with pantry staples. Here’s your checklist:
| Ingredient | Quantity |
|---|---|
| All-purpose flour | 1 cup |
| Granulated sugar | 3/4 cup |
| Unsweetened cocoa powder | 1/4 cup + 1/4 cup (divided) |
| Baking powder | 2 tsp |
| Salt | 1/4 tsp |
| Milk | 1/2 cup |
| Unsalted butter (melted) | 1/4 cup |
| Vanilla extract | 1 tsp |
| Brown sugar | 1/2 cup |
| Hot water | 1 1/2 cups |
Pro tip: Always use high-quality cocoa powder for the best flavor. Trust me, it makes all the difference!
Ingredient Variations to Suit Different Diets and Preferences
Don’t have all the ingredients? No worries! Here are some swaps:
- Gluten-free: Use gluten-free all-purpose flour.
- Dairy-free: Substitute almond milk and coconut oil for milk and butter.
- Low sugar: Opt for a sugar substitute like erythritol.
With these tweaks, everyone can enjoy the magic of cobbler!

Step-by-Step Guide to Making Chocolate Cobbler at Home
Now that we’ve got everything ready, let’s dive into the fun part—making the chocolate cobbler! Follow these steps, and you’ll have a dessert that’ll make everyone’s taste buds do a happy dance.
Preparing Your Ingredients and Equipment
Before you start, preheat your oven to 350°F (175°C). Grease an 8×8-inch baking dish (or any similar-sized dish). Trust me, prepping your tools beforehand makes the whole process smoother. It’s like lining up your ducks—or in this case, your ingredients—in a row.
Layering the Ingredients for Perfect Texture
First, mix the dry ingredients: flour, sugar, 1/4 cup of cocoa powder, baking powder, and salt. In a separate bowl, combine the milk, melted butter, and vanilla extract. Pour the wet mixture into the dry ingredients and stir until combined. Don’t overmix—it’s okay if it’s a little lumpy!
Spread the batter evenly in your prepared dish. Sprinkle the brown sugar and the remaining 1/4 cup of cocoa powder on top. This step might seem odd, but trust the process—it’s what creates that ooey-gooey sauce! Finally, pour the hot water evenly over the top. Don’t stir! It’ll look strange, but it’s all part of the magic.
Baking Tips for a Gooey, Delicious Chocolate Cobbler
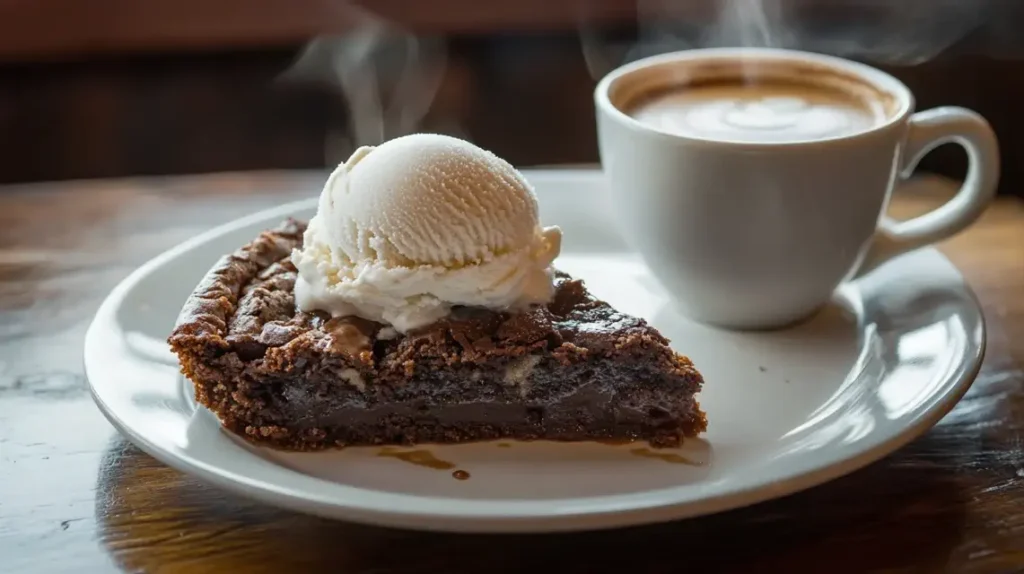
Bake for 35-40 minutes, or until the top looks set and slightly crisp. When you scoop it out, you’ll find a thick chocolate sauce lurking beneath the crust. Serve warm with a scoop of vanilla ice cream, and you’ve got a dessert worth dreaming about.
And there you have it—the first steps to mastering chocolate cobbler. Stick around for part two, where we’ll tackle common problems, fun variations, and serving tips!
Common Problems When Making Chocolate Cobbler (And How to Fix Them)
Even though recipes is a relatively simple dessert, a few things can go wrong. But don’t worry—every problem has a solution! Let’s troubleshoot some common issues so you can avoid them and enjoy a flawless dessert every time.
Why Is My Chocolate Cobbler Too Dry?
A dry cobbler usually means there wasn’t enough liquid to create the luscious sauce. Did you forget to add the hot water? Or maybe the oven temperature was too high? Always double-check your measurements and ensure the water evenly covers the batter before baking.
“If in doubt, add a little extra hot water to guarantee that gooey magic!”
How to Avoid a Runny Chocolate Cobbler
On the flip side, if your cobbler is too runny, it might need a few more minutes in the oven. Check the texture of the crust—it should be firm but not hard. If it’s too wet, bake it for an additional 5-10 minutes, keeping a close eye to avoid overbaking.
Troubleshooting Uneven Baking and Burnt Edges
Burnt edges are a bummer, right? They’re usually caused by uneven heat distribution. To fix this, make sure your dish is centered in the oven and rotate it halfway through baking. Using an oven thermometer can also help you monitor the temperature for accuracy.
Chocolate Cobbler Variations: Creative Twists to Try
If you love chocolate cobbler (who doesn’t?!), why not jazz it up with some creative twists? Let’s explore some fun ways to customize this dessert and make it your own.
Adding Fruits, Nuts, and Spices for Extra Flavor
Want to add a fruity punch? Toss in some raspberries or cherries for a tart contrast to the rich chocolate. Love a bit of crunch? Sprinkle chopped pecans or walnuts over the batter before baking. Feeling adventurous? Add a pinch of cinnamon or cayenne for a spicy kick—it’s like giving your cobbler a little personality.
Making a White Chocolate Cobbler
If you’re a fan of white chocolate, this variation will blow your mind! Swap the cocoa powder for white chocolate chips and reduce the brown sugar slightly to balance the sweetness. It’s like a creamy, dreamy version of the classic cobbler.
Gluten-Free and Vegan Chocolate Cobbler Options
Chocolate cobbler is for everyone, and with a few tweaks, you can make it gluten-free or vegan:
- Gluten-free: Use a gluten-free flour blend and double-check that your cocoa powder is gluten-free.
- Vegan: Substitute almond milk, coconut oil, and a flaxseed egg (1 tbsp ground flaxseed + 2.5 tbsp water) for the milk, butter, and egg, respectively.
Now everyone can indulge in this chocolaty goodness guilt-free!
Pairing Ideas: What to Serve with Chocolate Cobbler
Chocolate cobbler is a showstopper on its own, but pairing it with the right sidekick can elevate it to a whole new level. Here are some delicious pairing ideas to consider.
Ice Cream and Whipped Cream Combinations
Nothing beats the classic pairing of chocolate cobbler with vanilla ice cream. The contrast between the warm cobbler and the cold, creamy ice cream is pure bliss. Want to get fancy? Try serving it with salted caramel or coffee-flavored ice cream. Whipped cream is another simple yet satisfying option—add a dollop, and you’re golden!
Beverage Pairings: Coffee, Tea, and Dessert Wines
Pairing beverages with chocolate cobbler can make dessert time feel extra special. A hot cup of coffee or a frothy latte complements the rich flavors beautifully. If you’re into tea, go for something bold like Earl Grey or chai. And for the grown-ups, a glass of dessert wine, like Port or a sweet Moscato, adds an elegant touch. Cheers to indulgence!

Chocolate Cobbler Storage and Reheating Tips
Got leftovers? (Lucky you!) Here’s how to store and reheat your chocolate cobbler so it tastes just as amazing the next day.
How to Store Chocolate Cobbler for Maximum Freshness
Once your cobbler has cooled, cover it tightly with plastic wrap or transfer it to an airtight container. You can store it in the fridge for up to 3 days. Pro tip: If you’re planning to store it longer, freeze it! Wrap individual portions in plastic wrap and foil, then pop them into a freezer bag. They’ll last up to 3 months.
The Best Way to Reheat Chocolate Cobbler Without Losing Its Texture
To reheat, place a portion in the microwave for about 30 seconds. If you prefer the oven, cover the dish with foil and warm it at 350°F (175°C) for 10-15 minutes. Either way, don’t forget to add a fresh scoop of ice cream on top—it’s like hitting the dessert jackpot all over again!
And that’s it for part two! Stick around for the final section, where we’ll tackle serving tips, frequently asked questions, and why chocolate cobbler deserves a spot in your dessert lineup.
Frequently Asked Questions About Chocolate Cobbler
Let’s answer some of the most common questions about chocolate cobbler. These FAQs will help you become a chocolate cobbler pro in no time!
Can Chocolate Cobbler Be Made Ahead of Time?
Absolutely! You can prepare the batter and topping ahead of time and store them separately in the fridge for up to 24 hours. When you’re ready to bake, assemble the layers, add the hot water, and pop it in the oven. Freshly baked cobbler every time? Yes, please! 🕒
What Are the Best Chocolate Brands for Chocolate Cobbler?
High-quality cocoa powder and chocolate make all the difference. Brands like Ghirardelli, Hershey’s, or Valrhona work beautifully. If you’re feeling extra indulgent, toss in some chocolate chunks or chips for a melty surprise.
Can I Double the Recipe for a Crowd?
You sure can! Simply double the ingredients and use a larger baking dish (like a 9×13-inch pan). Keep an eye on the baking time—it might need an extra 5-10 minutes to cook evenly. Perfect for potlucks or family gatherings!
Tips for Serving Chocolate Cobbler at Special Occasions
Chocolate cobbler isn’t just a dessert; it’s a statement. Here’s how to elevate it for special events and wow your guests.
Decorating and Presenting Your Chocolate Cobbler
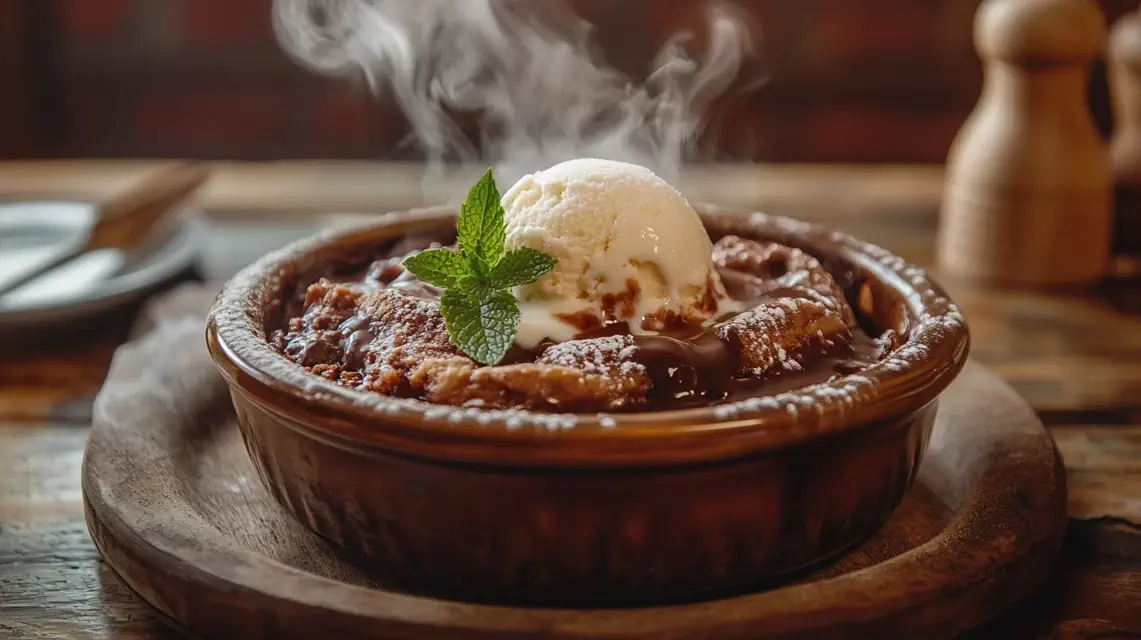
Presentation matters! Dust your cobbler with powdered sugar or cocoa powder for an elegant touch. Garnish with fresh berries, a sprig of mint, or even edible flowers for a pop of color. Serving in individual ramekins also adds a fancy vibe.
Scaling the Recipe for Larger Gatherings
Hosting a crowd? Double or triple the recipe as needed. Use disposable aluminum trays for easy cleanup, and don’t forget to label them if you’re making multiple variations (like gluten-free or vegan). Trust me, your guests will be raving about this dessert long after the party ends!
Why You Should Try Making Chocolate Cobbler Today
Still on the fence about making chocolate cobbler? Let me convince you. This dessert is the epitome of comfort food. It’s quick, easy, and doesn’t require any fancy techniques or gadgets. Plus, it’s incredibly versatile—you can enjoy it warm on a cold day or chilled in the summer. Talk about year-round bliss!
The Comforting Appeal of Homemade Desserts
There’s something magical about desserts made from scratch. Chocolate cobbler brings that warm, homey feeling to the table. It’s like a hug in dessert form, perfect for cozy nights or celebrations with loved ones.
How Chocolate Cobbler Brings Families Together
Whether you’re baking it with your kids, sharing it with friends, or surprising your partner, the cobbler is all about togetherness. It’s the kind of dessert that gets everyone around the table, chatting, laughing, and savoring each bite. Isn’t that what life’s all about?
Exploring the Perfect Chocolate and Marshmallow Sandwich – Compare textures and flavors.
Conclusion: The Sweet Charm of Chocolate Cobbler
And there you have it—the ultimate guide to chocolate cobbler! From understanding its origins to troubleshooting common issues and exploring fun variations, you’re now fully equipped to make this dessert like a pro. So grab your apron, preheat that oven, and let the chocolaty adventure begin. Your taste buds will thank you!
“Life is too short to skip dessert—especially when chocolate cobbler is on the menu!”
If you try this recipe or put your own spin on it, let me know in the comments! Sharing is caring, especially when it comes to chocolate.

