

Table of Contents
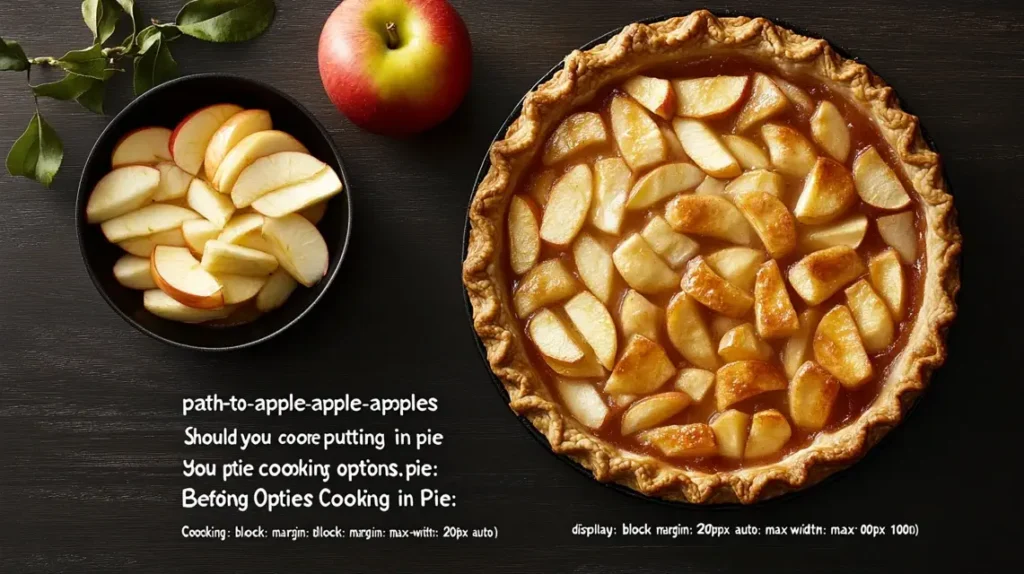
Let’s talk apple pies—arguably one of the most comforting desserts out there. Picture this: a golden, flaky crust holding a sweet, tangy apple filling, maybe topped with a scoop of vanilla ice cream. Yum! But here’s the million-dollar question that stumps even seasoned bakers: should you cook apples before putting them in a pie?
If you’ve ever found yourself staring at a pile of peeled apples and wondering whether to toss them in raw or precook them, don’t worry—you’re not alone. This debate has been around for ages, and both methods have their pros and cons. Let’s dive in, explore the science, and uncover the secrets to a perfect apple pie!
For perfect recipes Precooking Pie Filling: A Simple Trick for Flawless Desserts
Introduction to Apple Pie Perfection
Should You Cook Apples Before Putting in Pie?
Let’s talk apple pies—arguably one of the most comforting desserts out there. Picture this: a golden, flaky crust holding a sweet, tangy apple filling, maybe topped with a scoop of vanilla ice cream. Yum! But here’s the big question that bakers everywhere debate: should you cook apples before putting in pie?
If you’ve ever been unsure about whether to cook your apples first or toss them in raw, you’re not alone. The answer depends on your pie goals—texture, flavor, and ease of preparation. So, let’s break it down step by step, solve the debate, and help you decide what works best for your perfect pie!
“A great pie starts with great decisions. Cooked or uncooked apples—it’s all about what works best for you and your taste buds!”
The Role of Apples in a Pie
Apples are the star of the show in any apple pie. They provide the flavor, texture, and that irresistible aroma. But not all apples are created equal. Some hold their shape well during baking, while others turn into mush. Understanding this is key to deciding whether to cook them or not.
For instance, if you’re exploring a creative apple pie twist, consider checking out the Cinnamon Roll Apple Pie: The Ultimate Dessert Fusion, which combines pre-cooked apples with a unique crust for a decadent treat.
The Debate: Cooked vs. Uncooked Apples
Pros of Cooking Apples Before Pie Assembly
Why cook your apples first? Here are some compelling reasons:
- Control Over Texture: Cooking lets you control how soft the apples become. If you like a melt-in-your-mouth filling, this is the way to go.
- Prevents Soggy Crusts: By cooking, you can reduce the amount of juice the apples release during baking. No one likes a pie with a soggy bottom!
- Even Flavor Distribution: Cooking allows the sugar and spices to blend well with the apples, ensuring every bite is flavorful.
Cons of Cooking Apples Before Pie Assembly
Of course, there are some downsides:
- Extra Time: Cooking the apples is an additional step, which can be a hassle if you’re in a hurry.
- Risk of Overcooking: If you cook the apples too much, they might turn mushy during baking.
- Loss of Freshness: Some people feel that cooking takes away the fresh, crisp taste of raw apples.
Understanding the Science of Cooked Apples
How Cooking Affects Apple Texture and Flavor
When you cook apples, their cell walls break down, releasing pectin—a substance that helps thicken the filling. This process also softens the apples, making them tender. The heat enhances their natural sweetness, and the spices you add (like cinnamon and nutmeg) infuse into the fruit more effectively.
The Impact of Cooking on Apple Juices and Sweetness
One of the biggest challenges in apple pies is dealing with excess juice. Cooking apples before baking helps release and thicken their juices, which reduces the risk of a runny filling. Plus, cooking caramelizes the natural sugars, giving your pie a deeper, richer flavor.
For learn recipes 4 Tips for Using Heavy Cream on Cinnamon Rolls
Common Problems with Uncooked Apples in Pie
Uneven Baking and Raw Centers
When you bake apples raw, you run the risk of uneven cooking. The outer slices may soften, but the inner ones could stay too firm. Nobody wants to bite into a pie and feel like they’re eating apple chunks instead of a cohesive filling!
Excessive Liquid Ruining the Crust
Raw apples release a lot of juice during baking, which can make your crust soggy. Even with the best pie crust in the world, too much liquid can ruin the texture and presentation.
Nutrition Facts
| Nutrient | Per Serving |
|---|---|
| Calories | 300 |
| Total Fat | 12g |
| Sugar | 25g |
| Fiber | 3g |
| Protein | 2g |
Conclusion
So far, we’ve explored the pros and cons of cooking apples before baking them into a pie. While it may take a bit more effort, cooking the apples offers better control over texture and flavor. On the other hand, if you’re a fan of keeping things simple and love the crisp taste of raw apples, the uncooked method might be your jam. Stay tuned for Part 2, where we’ll dive into tips, tricks, and recipes for each method!
Mastering Apple Pie Filling Techniques
Alright, now that we’ve tackled the basics, let’s roll up our sleeves and dig into the practical side of things. Whether you prefer cooking your apples or letting them bake raw, there’s a method to the madness. Each approach has unique challenges and benefits, but with a few tricks up your sleeve, you’ll be baking pies that would make Grandma proud!
Common Problems with Pre-Cooked Apples in Pie
Overly Soft Apple Filling
Ever cut into a pie and found a filling that’s more like applesauce? That’s what happens when you overcook your apples before baking. It’s all about finding the sweet spot. Cook them just enough to soften them slightly—this gives them room to finish cooking in the oven without turning to mush.
“Think of it like cooking pasta. You want your apples to be al dente—soft but still holding their shape.”
Loss of Fresh Apple Flavor
One downside of pre-cooking is the potential loss of that crisp, fresh apple taste. To counteract this, use a mix of apple varieties. Blend tart options like Granny Smith with sweeter ones like Honeycrisp to keep the flavor balanced and lively.
Tips for Perfectly Cooked Apples for Pie
Choosing the Right Apple Varieties
Not all apples are pie-worthy. Some, like Red Delicious, turn to mush when cooked. Instead, opt for varieties that hold their shape, like:
- Granny Smith: Tart, firm, and perfect for balancing sweetness.
- Honeycrisp: Sweet, crunchy, and versatile.
- Braeburn: Spicy-sweet with excellent texture.
- Jonagold: A mix of tart and sweet with a firm bite.
Cooking Methods: Sautéing, Steaming, and Microwaving
Here are three foolproof ways to pre-cook your apples:
- Sautéing: Toss apple slices in a skillet with butter, sugar, and spices. Cook over medium heat until they’re just starting to soften. This method enhances the flavor and gives a slight caramelization.
- Steaming: Place apple slices in a steamer basket over boiling water. Steam for 5-7 minutes, then drain. This keeps the apples tender without adding extra fat.
- Microwaving: Combine apple slices with sugar and spices in a microwave-safe bowl. Cover and microwave for 3-5 minutes, stirring halfway through. Quick and efficient!
Balancing Sugar, Spices, and Acidity
The magic of apple pie lies in the harmony of flavors. Here’s a simple guide:
- Sugar: Adjust based on your apples. Tart varieties need more sugar, while sweeter ones need less.
- Spices: Cinnamon and nutmeg are classics, but don’t be afraid to experiment with cardamom or ginger.
- Acidity: A splash of lemon juice brightens the filling and keeps the apples from browning.
Tips for Using Uncooked Apples in Pie
Pre-Slicing and Marinating for Consistent Baking
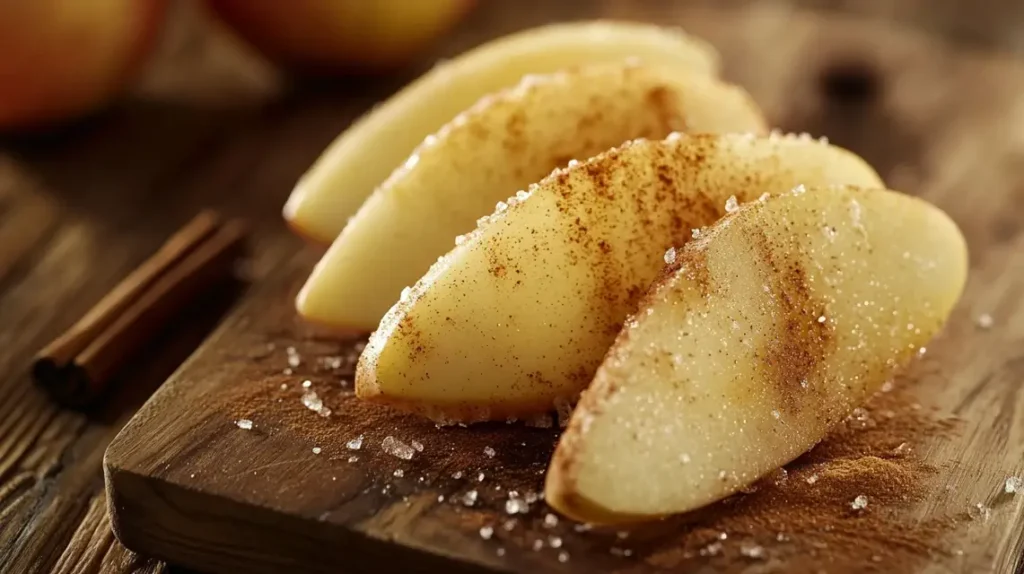
If you’re using raw apples, slicing them thinly is your secret weapon. Thin slices cook faster, ensuring even baking. Toss them with sugar, spices, and a pinch of salt, then let them sit for 30 minutes. This process draws out some of the juices, which you can thicken and add back for extra flavor.
Controlling Moisture with Starch or Breadcrumbs
Raw apples release a lot of juice during baking. To prevent a soggy crust, sprinkle a thickener like cornstarch, tapioca, or flour into your filling. Alternatively, try a layer of breadcrumbs or crushed cookies on the crust before adding the apples. This acts like a sponge, soaking up excess liquid while adding a subtle crunch.
Recipes and Techniques for Both Methods
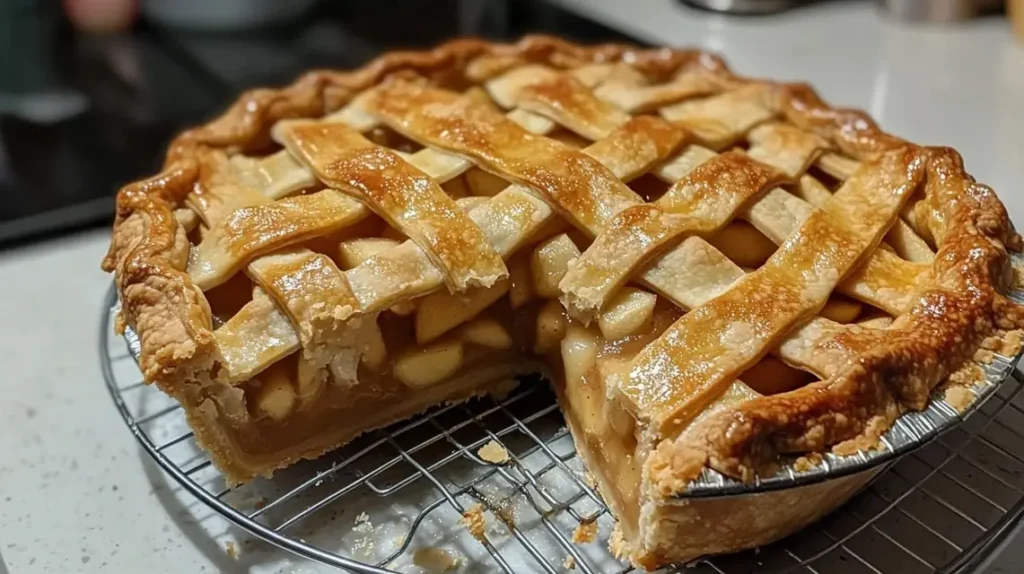
Recipe: Pre-Cooked Apple Filling Pie
Here’s a classic recipe for a pie with pre-cooked apples:
| Ingredient | Quantity |
|---|---|
| Apples (peeled, sliced) | 6 cups |
| Sugar | 3/4 cup |
| Cinnamon | 1 tsp |
| Nutmeg | 1/4 tsp |
| Lemon Juice | 2 tbsp |
| Butter | 2 tbsp |
| Cornstarch | 2 tbsp |
Instructions:
- In a skillet, melt the butter and sauté the apples with sugar, spices, and lemon juice until softened.
- Add cornstarch and cook until the juices thicken. Let it cool before adding to the crust.
- Assemble your pie and bake at 375°F (190°C) for 45-50 minutes or until golden brown.
Recipe: Uncooked Apple Filling Pie
Prefer the raw approach? Try this recipe:
| Ingredient | Quantity |
|---|---|
| Apples (peeled, thinly sliced) | 6 cups |
| Sugar | 1 cup |
| Cinnamon | 1 tsp |
| Nutmeg | 1/4 tsp |
| Flour | 2 tbsp |
| Lemon Juice | 2 tbsp |
Instructions:
- Toss the apple slices with sugar, spices, flour, and lemon juice. Let them sit for 30 minutes.
- Add the filling to your crust and bake at 375°F (190°C) for 50-55 minutes.
Conclusion
Now you’ve got the tools and techniques for both methods! Whether you go for pre-cooked or raw apples, the key is understanding your ingredients and adapting to your preferences. Stay tuned for Part 3, where we’ll explore expert tips and FAQs to tackle any apple pie dilemma!
Expert Tips, FAQs, and Final Recommendations for Apple Pie Perfection
Welcome to the final stretch! Now that we’ve covered the basics and explored recipes for both cooked and uncooked apple fillings, it’s time to tackle those last-minute questions and share some expert-approved tips. Let’s ensure your apple pie isn’t just good—it’s unforgettable!
Expert Opinions and Culinary Insights
What Professional Bakers Recommend
Professional bakers often lean toward cooking their apples first. Why? It’s all about control. Precooking allows them to regulate the texture and sweetness of the filling while preventing the dreaded soggy crust. But here’s the catch—this method works best if you’re aiming for a pie that’s consistently tender and rich in flavor.
“Precooking apples is like training for a marathon—you put in the work upfront so the final result is flawless!”
Insights from Culinary Experts on Apple Preparation
Culinary experts suggest a hybrid approach for those who can’t decide. Cook a portion of the apples for flavor and consistency, then mix them with raw slices for a touch of freshness and bite. This technique gives you the best of both worlds—soft, caramelized apples paired with a slightly crisp texture.
Solving Apple Pie Troubles: FAQs
How to Avoid Soggy Bottoms?
Ah, the soggy bottom—the nemesis of pie bakers everywhere. To avoid this, try these tips:
- Blind Baking: Pre-bake the bottom crust before adding the filling. This creates a barrier against excess moisture.
- Use Thickeners: Cornstarch, flour, or tapioca can help absorb the juices released by apples.
- Bake on a Preheated Surface: Place your pie pan on a hot baking sheet to jumpstart the crust’s cooking process.
What to Do If Apples Release Too Much Juice?
Excess juice can turn your pie into a puddle. If this happens:
- Drain the Filling: Before adding the apples to your crust, let them sit for a while and drain the excess liquid.
- Thicken the Juices: Cook the juices separately with a thickener, then mix them back into the apples.
Can I Mix Apple Varieties for Better Results?
Absolutely! Combining tart and sweet apples adds depth to your pie. For example, mix Granny Smith (tart) with Fuji or Golden Delicious (sweet) for a perfectly balanced filling. Variety is the spice of life—and the secret to a standout apple pie!
Pro Tips for Next-Level Apple Pies
Keep Your Crust Cold
The secret to a flaky crust? Keep everything cold—your butter, water, and even your hands. Warmth causes the butter to melt prematurely, resulting in a dense, oily crust. If you’re serious about pie-making, consider chilling your rolling pin and pie pan, too!
Add Depth with Unexpected Flavors
Want to elevate your pie? Try these ideas:
- Vanilla Bean: Add a scraped vanilla bean to your filling for a subtle, sweet aroma.
- Salted Caramel: Drizzle caramel over your apples before sealing the crust for a decadent twist.
- Fresh Herbs: A sprig of thyme or rosemary can add an unexpected but delightful complexity.
Vent Your Crust
Cutting vents into your top crust isn’t just decorative—it allows steam to escape, preventing a soggy filling and ensuring even cooking. Use a knife, fork, or cookie cutters to create fun shapes!
If you enjoy learning how different ingredients contribute to recipes, you may want to read Apple Crumble Made Easy: Should You Pre-Cook the Apples for insights into thickening methods.
Final Recommendations: Cooked or Uncooked Apples?
Summary of Key Points
To recap, here’s what we’ve learned:
- Cooked Apples: Offer better control over texture and flavor but require extra effort.
- Uncooked Apples: Keep the process simple and maintain a fresh taste but risk uneven baking and soggy crusts.
- Hybrid Method: Combines the best of both worlds—softness with a hint of crispness.
Final Recommendation
Ultimately, the decision depends on your preferences and the type of pie you’re making. If you’re a fan of tradition and rich flavors, precooking your apples is the way to go. If you’re short on time or love a fresher taste, raw apples are a great option. And if you’re feeling adventurous, try the hybrid method and impress everyone with your culinary prowess!
Conclusion
There you have it—the ultimate guide to apple pie filling. Whether you’re a seasoned baker or just starting out, these tips and techniques will help you create a pie that’s as stunning as it is delicious. So, what are you waiting for? Grab some apples, preheat your oven, and let the magic begin. Happy baking!